Create Custom DNS
You have the flexibility to configure a custom domain for your workspace, allowing you to personalize and tailor the web address to your specific needs.
The Workspace must have DNS subscription or enable Custom DNS.
Set the Access Token Lifespan to a minimum of 10 minutes to allow sufficient time for the creation of the custom DNS.
1 Go to Dashboard > Settings > Tokens.
2 Scroll down, set Access Token Lifespan to minimum of 10 minutes, and click on SAVE.

3 Click on the General tab.
4 Click on CUSTOM DOMAIN.

5 Provide you Custom Domain, click on NEXT.
Domain Verfication will be displayed once you add the Custom Domain.
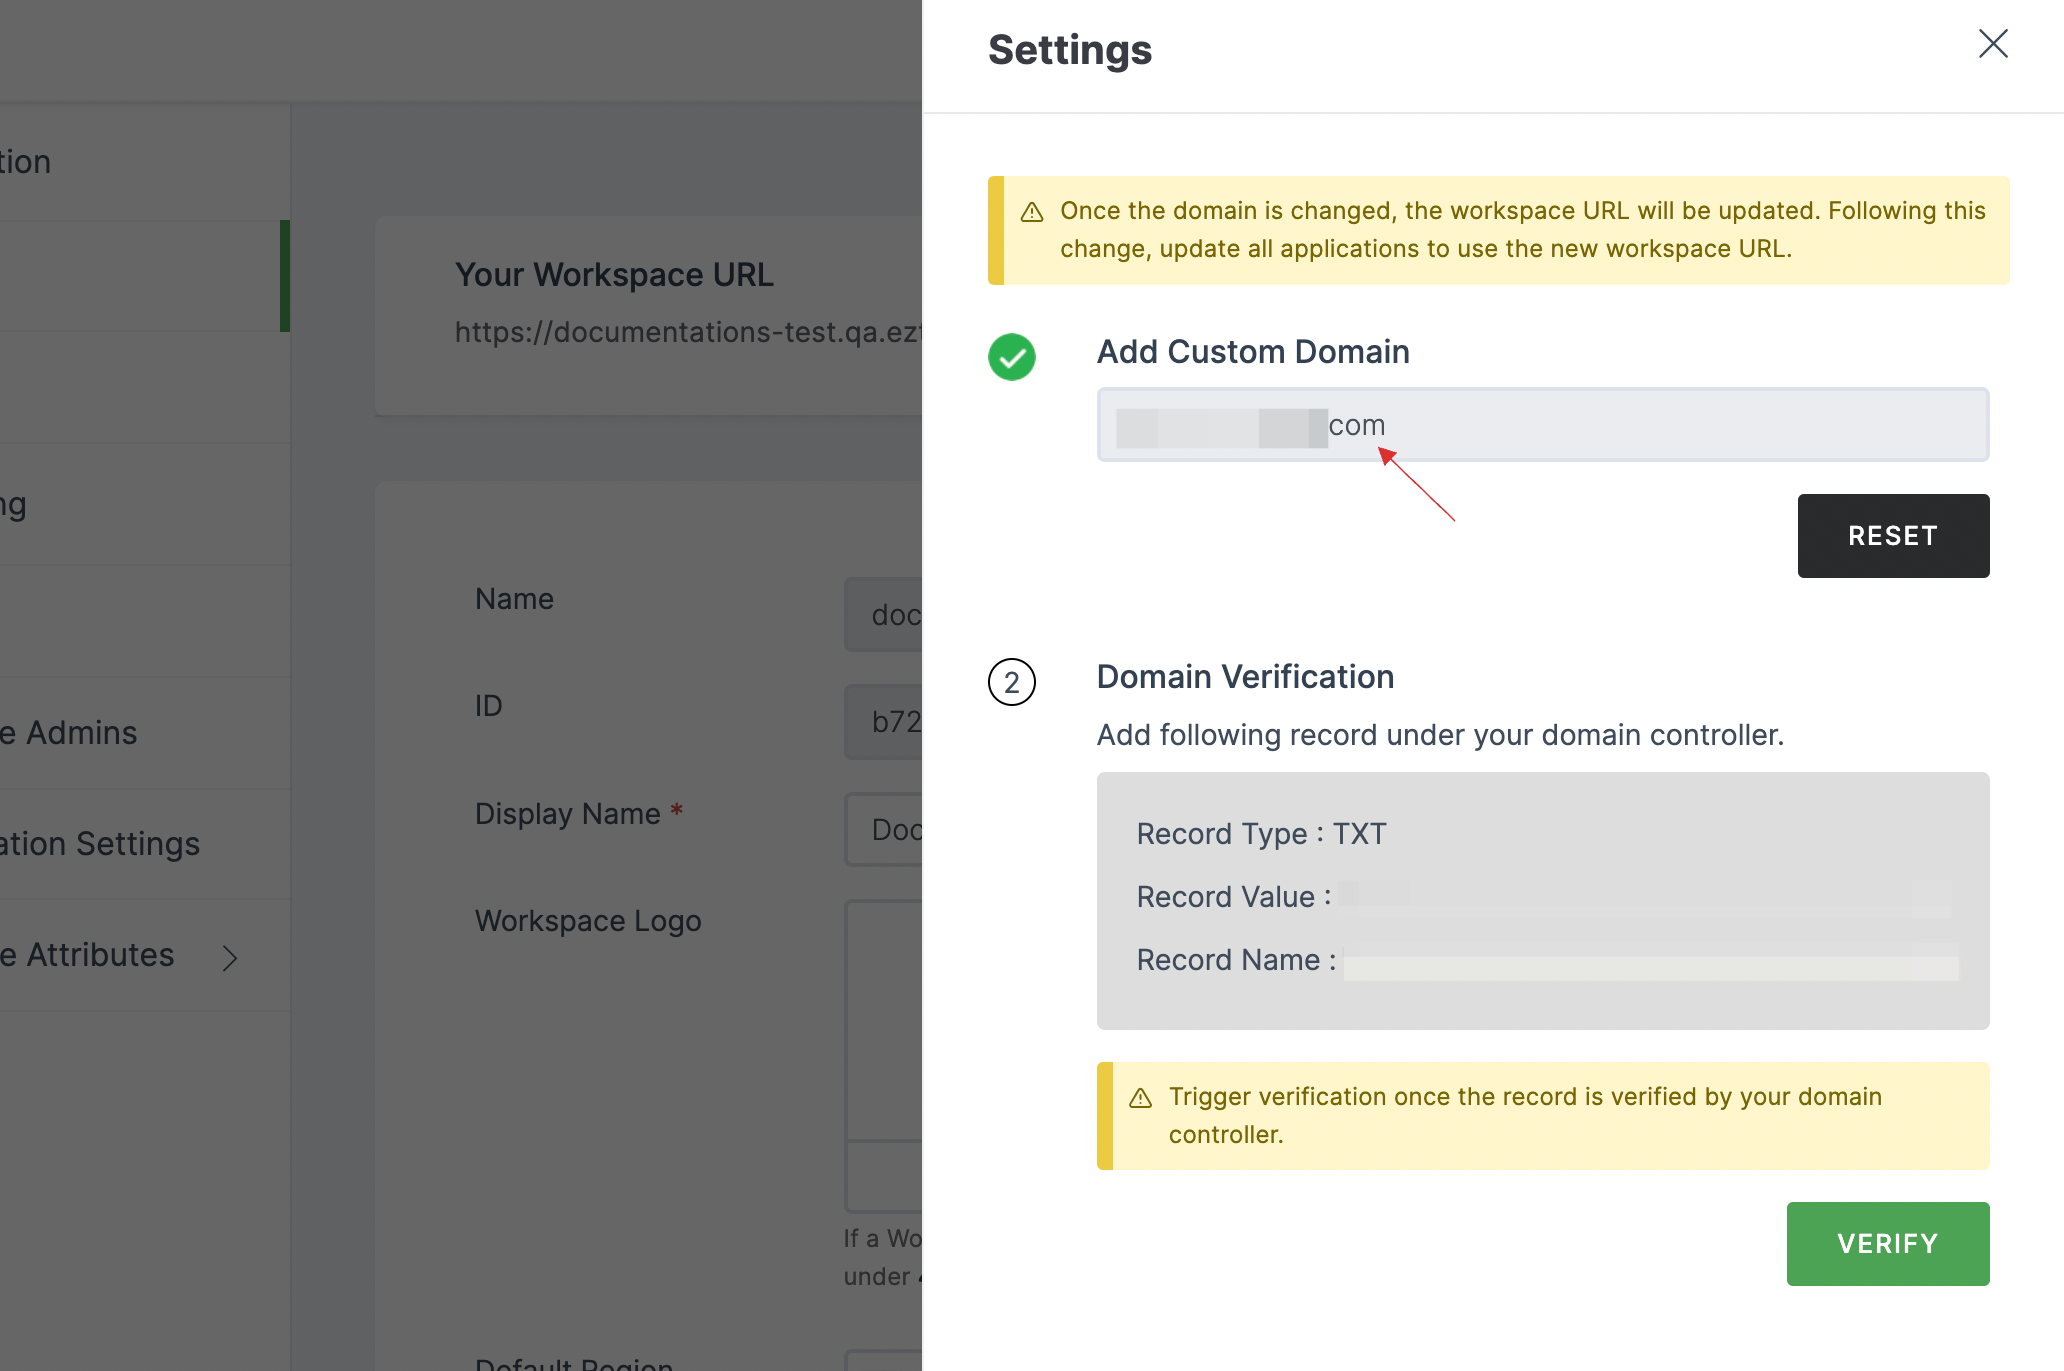
6 Copy the TXT record values.
Trigger the Domain Verification only when the record is verified by your domain controller.

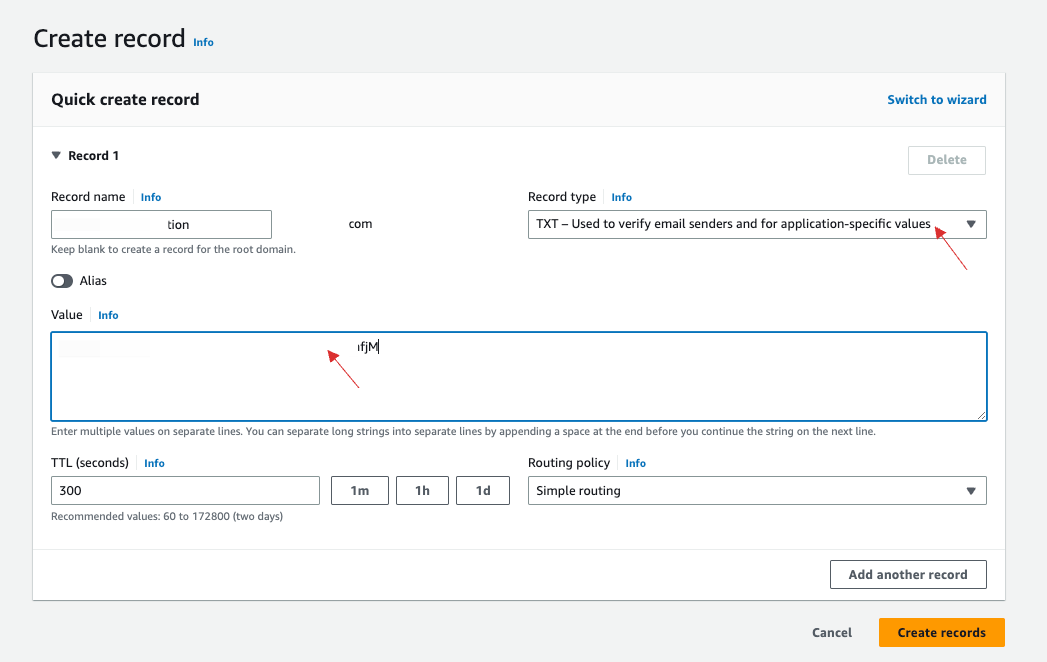
7 Navigate to your Domain Controller, and click on Create record. For instance, Route53 is used here.
Some of the popular domain controllers are listed below
GoDaddy: GoDaddy is a widely recognized domain registrar and web hosting provider. It offers services such as domain registration, website hosting, email hosting, SSL certificates, and DNS hosting management.
Route53: Route53 is a DNS web service provided by Amazon Web Services (AWS). It offers scalable DNS hosting, domain name registration, and health checking for web applications. Route53 is known for its reliability and seamless integration with other AWS services.
8 Add the copied TXT record values in the respective fields, and click on Create records.
9 Once the record is created, navigate to your dashboard, and now click on VERIFY for Domain Verification.
Once the above is verified, CNAME Record Verification will be displayed.

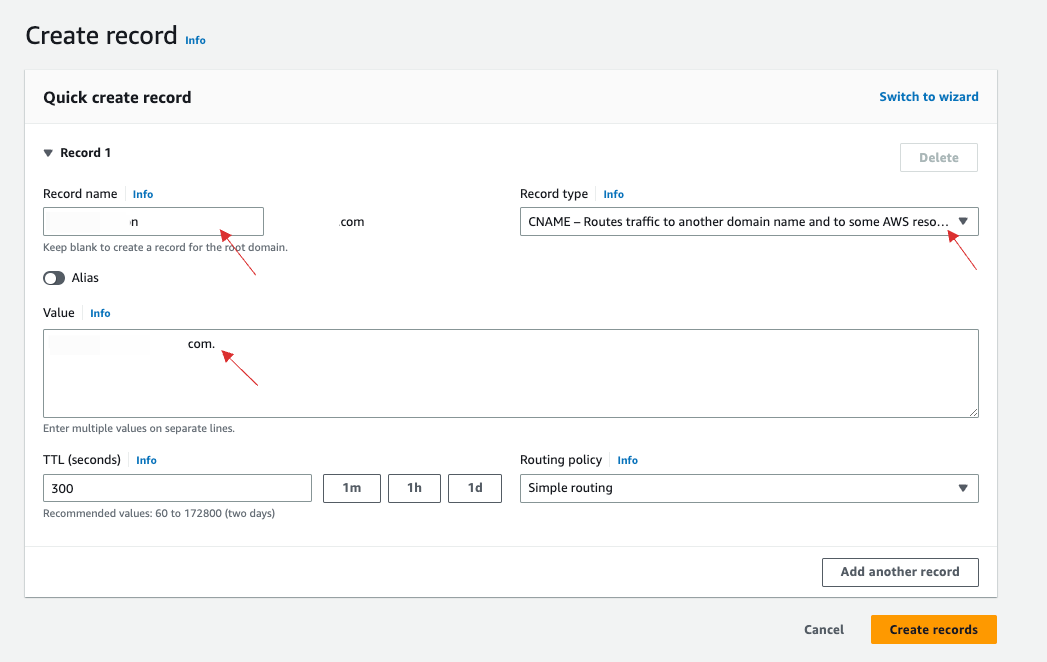
10 Copy the CNAME record values and navigate to your Domain Controller, and click on Create record.
11 Add the copied CNAME record values in the respective fields, and click on Create records.
12 Once the record is created, navigate to your dashboard, and now click on VERIFY for CNAME Record Verification.
Once the above is verified, Add Certificate will be displayed.

12 This step is optional, if you do not have a certificate for this domain. The "Lets's Encrypt" certificate will be generated by default and the Custom Domain setup will be completed without certificate.
13 If you have a certificate for this particular domain. Then, toggle enable, upload the Certificate and Certificate Key.

14 Click on SAVE.
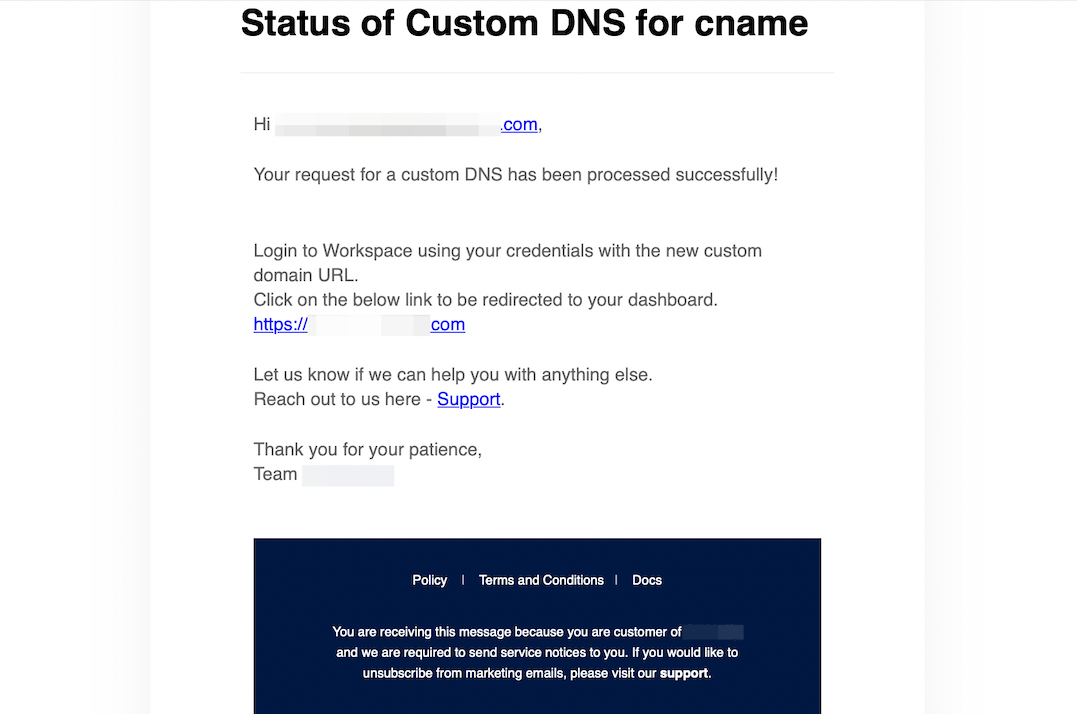
15 The DNS creation will be in progress, you will receive an email when the DNS creation succeeds to the user you logged in.

16 Once the custom DNS is created successfully, refresh your dashboard or click on the link received in the mail for your custom DNS to be reflected.